GUIDE // ROBLOX STUDIO
How to import a fire or smoke flipbook texture into Roblox Studio
Upload your sheet as an image through the Asset Manager, copy its asset ID and paste it into a ParticleEmitter's Texture property. Roblox caps uploaded images at 1024 by 1024 pixels, so an 8 by 8 sheet gets 128 pixel frames. Then set FlipbookLayout to Grid8x8 so the emitter plays the grid as frames.
- Godot 4 Available
- Unity Manual setup
- Unreal Engine Manual setup
- Roblox Studio Manual setup
- three.js Available
A draft compile is from $0.05, and new accounts start with $5 of usage.
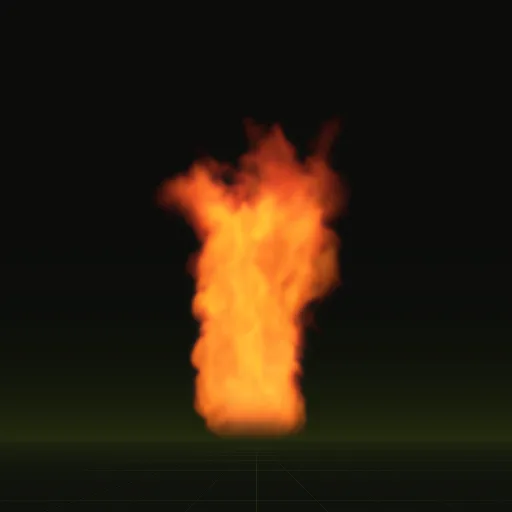
01 // WHAT YOU UPLOAD
One RGBA image at 1024 px
A ParticleEmitter takes one texture and has no custom shader, so the image must carry the color in RGB and the opacity in alpha. A Spatial Compiler compile gives you four sheets instead, with the smoke's look in lighting precomputed from six directions. Combine them first.
- Smoke: the green channel of
main_pos.png(light from above) in RGB, and the alpha ofmain_pos.pngin alpha. - Flame: a second image on black, the RGB of
main_colour.pngmultiplied by the alpha ofmain_neg.pngsquared (that alpha stores the square root of the flame brightness). It is normalized to the clip's peak, so it goes on its own emitter with LightEmission 1 and Brightness atscales.emit_max_hdr. - Size: ask your agent to compile with
export.tile_px = 128, which makes an 8 x 8 sheet exactly 1024 x 1024, or halve a 2048 sheet in your image editor. Both keep every frame on the grid.
Your agent can also write the combined image for you with export.pack.
02 // HOW TO
Upload and assign the texture
- Save the combined image as a 1024 x 1024 PNG.
- Open the Asset Manager and upload the PNG with its import button. New images go through moderation and can show blank until it finishes.
- Right-click the image in the Asset Manager and copy its asset ID.
- Insert a ParticleEmitter into a Part and paste the ID into Texture, or set it from a script as
rbxassetid://followed by the number. - Set FlipbookLayout to Grid8x8, FlipbookMode to Loop and FlipbookFramerate to 30, the Roblox maximum, which plays the 2 s fire in about 2.1 s.
local emitter = Instance.new("ParticleEmitter")
emitter.Texture = "rbxassetid://0" -- replace 0 with your image's asset ID
emitter.FlipbookLayout = Enum.ParticleFlipbookLayout.Grid8x8
emitter.FlipbookMode = Enum.ParticleFlipbookMode.Loop
emitter.FlipbookFramerate = NumberRange.new(30) -- the maximum
emitter.Speed = NumberRange.new(0)
emitter.Parent = workspace.FirePart
03 // REAL OUTPUT
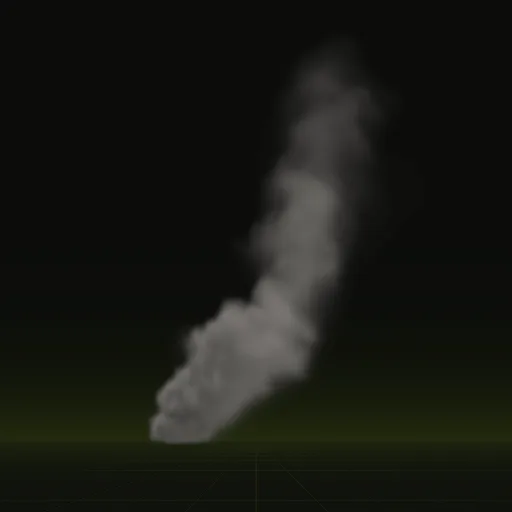
A smoke sheet to upload next
The 4 s smoke plume uses the same smoke recipe and plays at 16 frames per second.
How do I import a fire, smoke or explosion flipbook texture into Roblox Studio?
Upload a 1024 by 1024 PNG through the Asset Manager, paste its asset ID into a ParticleEmitter Texture and set FlipbookLayout to match your grid.
How do I assign a flipbook texture to a Roblox ParticleEmitter?
Set the emitter Texture property to rbxassetid:// followed by the image asset ID in Properties or a script. New uploads may appear blank until moderation finishes.
What is the largest texture size Roblox Studio accepts for flipbooks?
Roblox caps uploaded images at 1024 by 1024 pixels. Compile an 8 by 8 sheet with 128 pixel frames or halve a 2048 sheet before uploading.
How do I prepare a flipbook texture for Roblox Studio?
Pack the frames in a grid on one image up to 1024 pixels, with color in RGB and opacity in alpha. Grid8x8 holds 64 frames.
Compile your first effect
You pay per compile and see the price before it runs. New accounts start with $5 of usage.